
Introduction
Salpace Premium gives marketing teams everything they need to build and run a professional website on HubSpot CMS. With 30+ pre-built sections, flexible style settings and smart blog features, you can create new pages, match your brand and publish updates on your own, without waiting on a developer.
Key Components of Salpace Premium Theme:
-
Hero Section
A centered headline with highlighted text, a short description, a small badge above the heading and a primary CTA button on a soft sky background. -
Page Banners
Ready-made banners for inner pages like FAQ, Team, Mission and Customer Stories, with a heading, description and optional image or stats. -
Service Sections
- Two Column Service Cards: service cards in a 2x2 grid, each with an icon, title, short description and an "Explore More" link.
- Image With Service: a split layout with heading, description and CTA, numbered service cards, and a large image on the side.
- Who Benefits From Us: a full-width image banner with floating profile chips that show the kinds of people the service helps.
-
Pricing Plans and Comparison Table
Pricing cards with a Monthly/Yearly toggle, recommended plan badge and feature lists, plus a comparison table that shows plan features side by side. -
Portfolio
A project showcase slider with category tag, description, client profile and large project image, and a filterable portfolio grid with category tabs, search and a Load More button. -
Blog and Knowledge Base
- Blog listing: grid and list layouts with tag filters, live search and pagination. Author and tag pages automatically show only related posts.
- Featured post: highlight a custom post, or automatically show the most recent or most popular post from any blog.
-
Pillar Page with Sticky Table of Contents
A long-form content layout where the table of contents builds itself from H2 and H3 headings, with smooth scrolling and active-section highlighting. -
Testimonials and Social Proof
- Single testimonial: a centered quote with the customer's name, photo and designation.
- Testimonial grid: text testimonial cards with quote icon and profile.
- Video testimonials: play in place, and only one video plays at a time.
- Customer banner and comments list: a customer stories banner, and a reviews list with photo, name and like icon.
-
Team Sections
Team member cards with photo, name, intro and role, organised in tabs, plus a leadership banner layout for founders. -
About, Timeline and Achievements
- About section: company story with a bold heading and description.
- Timeline: a horizontal year-by-year journey with a year badge, title and story for each milestone.
- Counter cards: achievement stats with big numbers and short labels.
- Mission banner: team image with a stats bar.
-
Careers Section
Open job listings with department tabs, search, work-type tags and Apply Now buttons. -
FAQ Section
An expandable accordion for common questions about services, pricing and support. -
CTA Banner
A bold call-to-action block with heading, short description and button on a colored background. -
Forms
Ready-to-use review and contact forms that fit the theme's design. -
Fully Customisable Styling
Editor controls for background (color, image or gradient), spacing, typography, borders, shadows and alignment, with separate desktop and mobile settings. -
Responsive and Accessible
Every section adapts to mobile and tablet, with keyboard-friendly navigation and visible focus states.
Benefits of Using Salpace Premium Theme:
- Ease of Use: Built for both developers and marketers, Salpace lets you launch a full website quickly using ready-made sections, with no deep technical knowledge needed.
- Customization: Every module comes with controls for colors, backgrounds, spacing and typography, so you can match your brand across the whole site or change a single page.
- Responsiveness: Every section is designed to work on mobile, tablet and desktop, with separate mobile settings where layouts need them.
- Efficiency: With 30+ pre-built sections, from hero banners and pricing tables to blogs and careers pages, you spend less time building and more time on content.
- Built for Growth: Pricing toggles, CTA banners, testimonials and lead forms are designed to turn visitors into leads and customers.
- Smart Blog Features: Blog listings with tag filters, search, pagination and auto-filtered author and tag pages help readers find content faster.
- Easy for Marketers to Update: Content, images and layouts can be edited directly in HubSpot's page editor, without touching any code.
Theme inside pages
-
Home
-
About Us
-
Contact Us
-
Services
-
Service overview
-
Career
-
Our Team
- Pricing
-
Happy customers
-
FAQ
-
Project/portfolio
-
Pillar Page
-
Blog listing page
-
Blog details page
-
Case Study listing page
-
Case Study details page
Getting Started with Salpace Premium
Step 1: Install the Theme
- Log in to your HubSpot account.
- Open the Marketplace from the top navigation bar and go to the Templates (themes) marketplace.
- Search for Salpace Premium and open the theme page.
- Click Install (or Buy for a paid theme) in the top right corner, then confirm.
Once installed, the theme appears in your Design Manager under the theme folder.
Step 2: Set Your Brand Styles
Open the theme settings and update your logo, brand colors, fonts, buttons and spacing. These changes apply across all pages built with Salpace, so your whole site stays consistent.
Step 3: Create Your First Page
Create a new website or landing page and choose Salpace Premium as the theme. Pick one of the ready-made templates, such as Home, About, Pricing or Blog, as your starting point.
Step 4: Add and Edit Sections
Use the drag-and-drop editor to add sections like hero banners, pricing tables, testimonials or FAQs. Click any section to change its text, images, links and styling.
Step 5: Set Up Your Blog
Connect the blog listing and blog post templates to your HubSpot blog, so your posts, tags and author pages use the Salpace design.
Step 6: Preview and Publish
Check how each page looks on desktop, tablet and mobile using the preview, then publish when you're ready.
Overview of Theme Settings
Salpace Theme Settings let you control your website's look from one place. Change your colors, fonts or buttons once, and the update applies to every page built with Salpace, so your site stays consistent without editing each module or template.-
Accessing Theme Settings
- Log in to your HubSpot account.
- Go to Content > Website Pages (or Landing Pages).
- Open any page built with Salpace in the page editor.
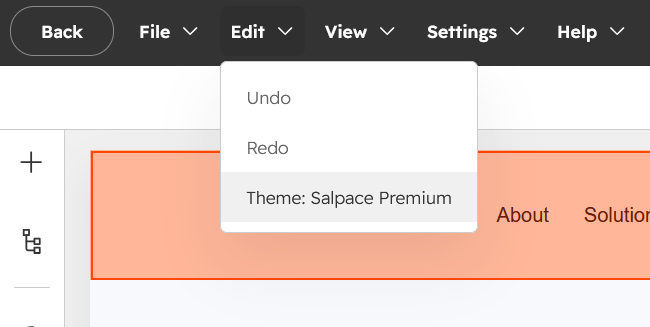
- Click on the gear icon or Edit > Theme Settings from the page editor.
- What You Can Customize
Colors
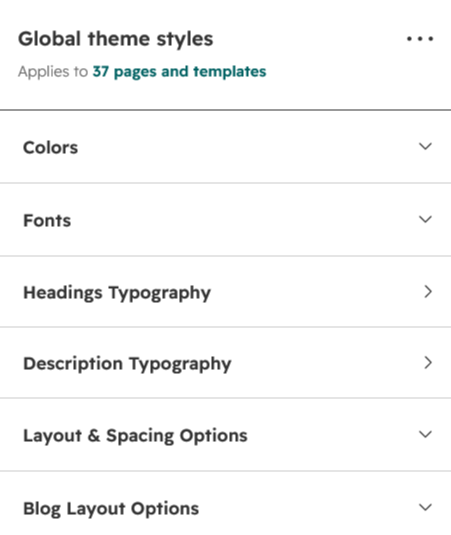
Set your primary, secondary and accent colors, along with background and text colors used across the site.Typography
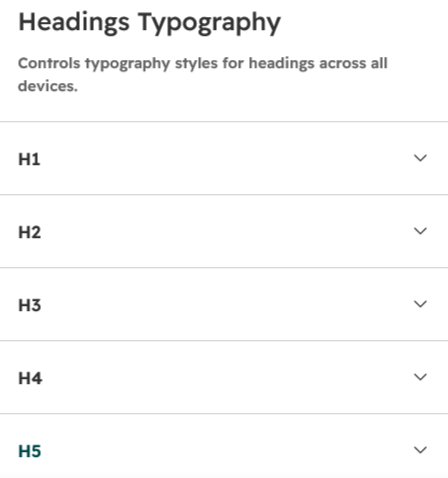
Choose fonts for headings and body text, and set sizes, weights and line heights for each heading level.Spacing
Adjust the default padding and margins between sections, so pages feel balanced on both desktop and mobile.Buttons
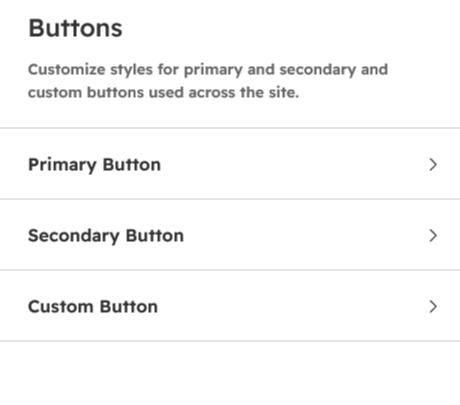
Style primary and secondary buttons, including color, border radius, padding and hover effects.Header and Footer
Update your logo, navigation menu, footer links and social media icons. Changes appear on every page automatically.Forms
Style form fields, labels and submit buttons to match your brand. - Tips for Best Results
Start with the theme settings: set your brand colors and fonts first, then build pages. Your pages will be on-brand from the start.
Use module settings only for exceptions: change styles inside a single module only when one section needs to look different.
Preview on mobile: after changing fonts or spacing, check your pages in mobile view before publishing.
Theme Settings :
Global color :
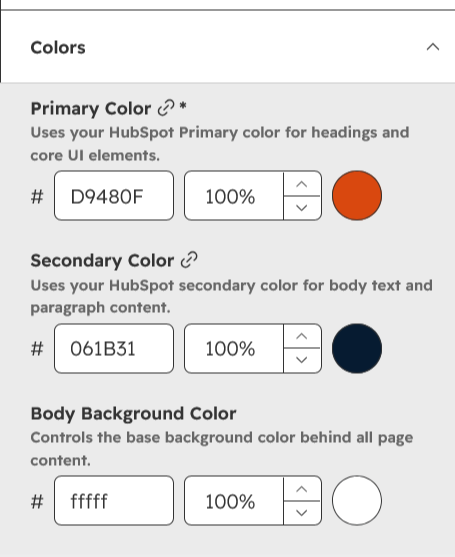
Typography :
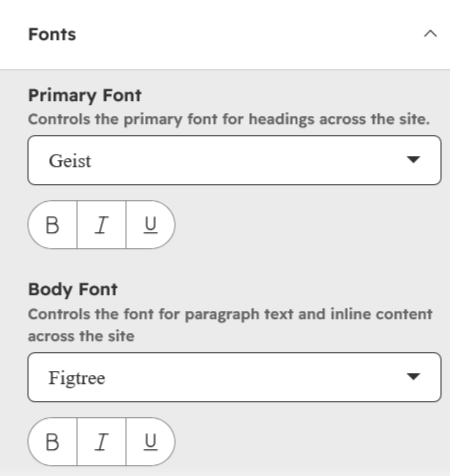
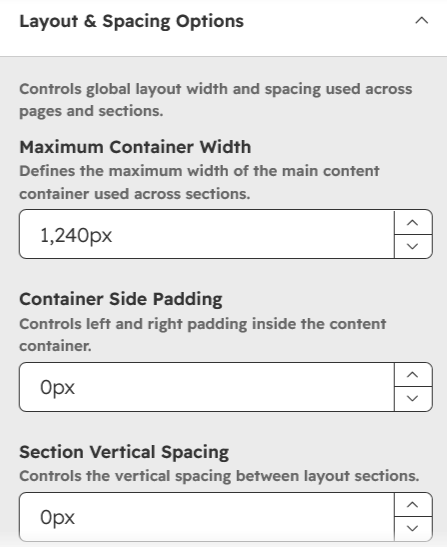
Container :
Headings Typography
Buttons
Create a Page Using Salpace Premium
-
In HubSpot, go to Content > Website Pages and click Create.
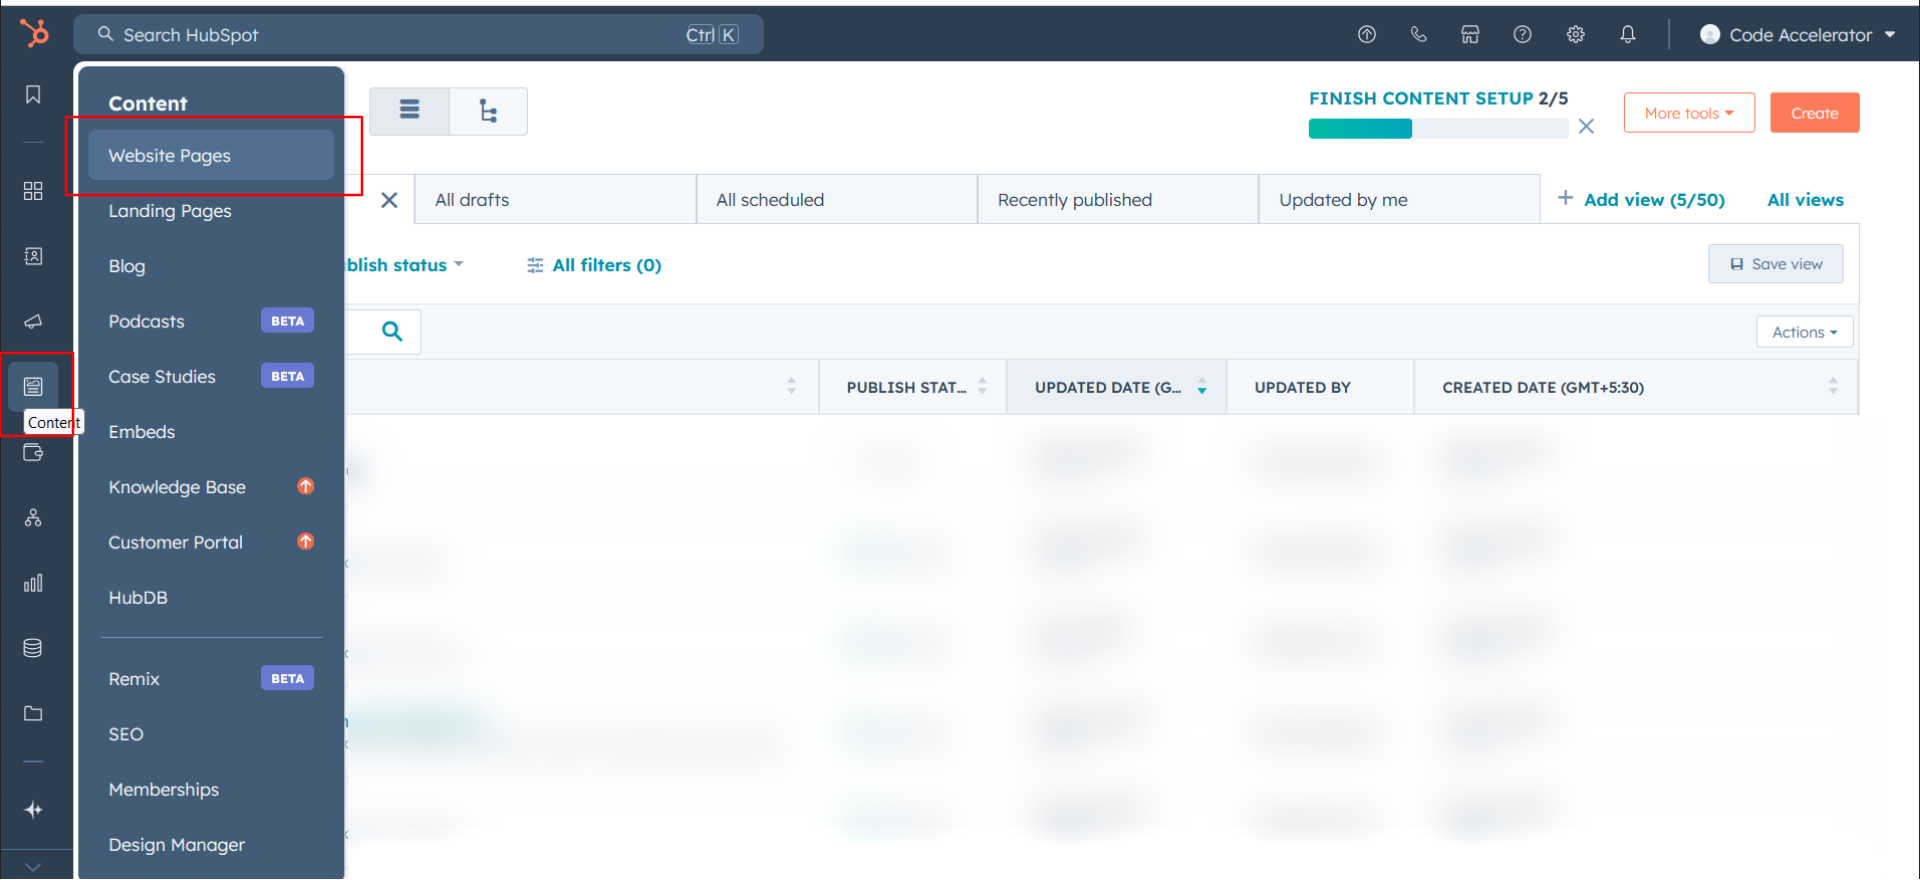
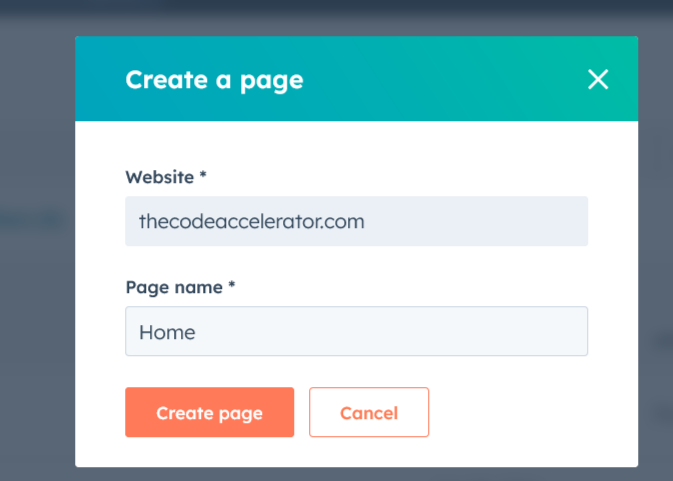
- Click to Create and add page name.
-
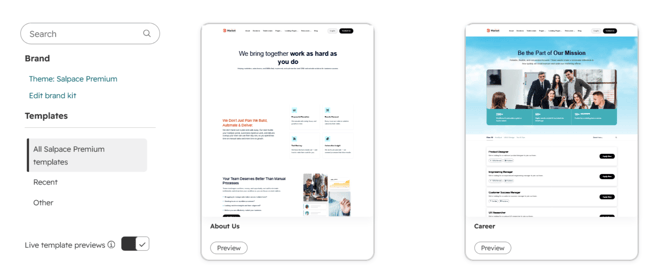
Choose a template from your newly uploaded theme by selecting the Salpace Premium and select Home Template.
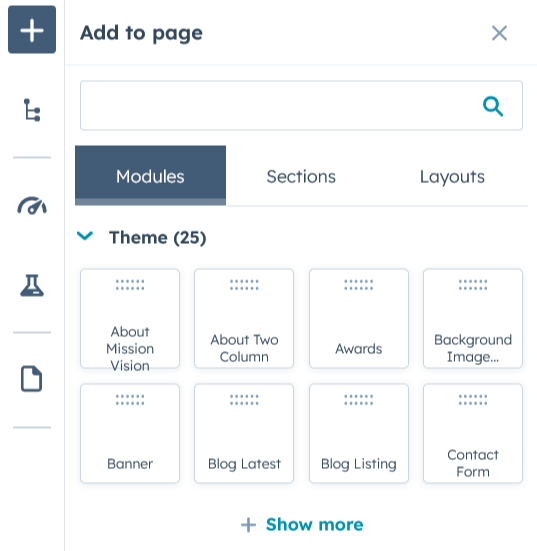
- Once the page opens in the editor, drag and drop modules or sections from the left sidebar onto the page to add content.
- In the page editor, click the Settings tab at the top.
Under Internal page name, enter a name to help your team find the page in HubSpot. This name is not shown to visitors.
Under Page title, enter the title that will appear in the browser tab and in search results.
Under Page URL, check or edit the page's web address.
Under Meta description, add a short summary of the page for search engines.
Click Publish in the top right corner.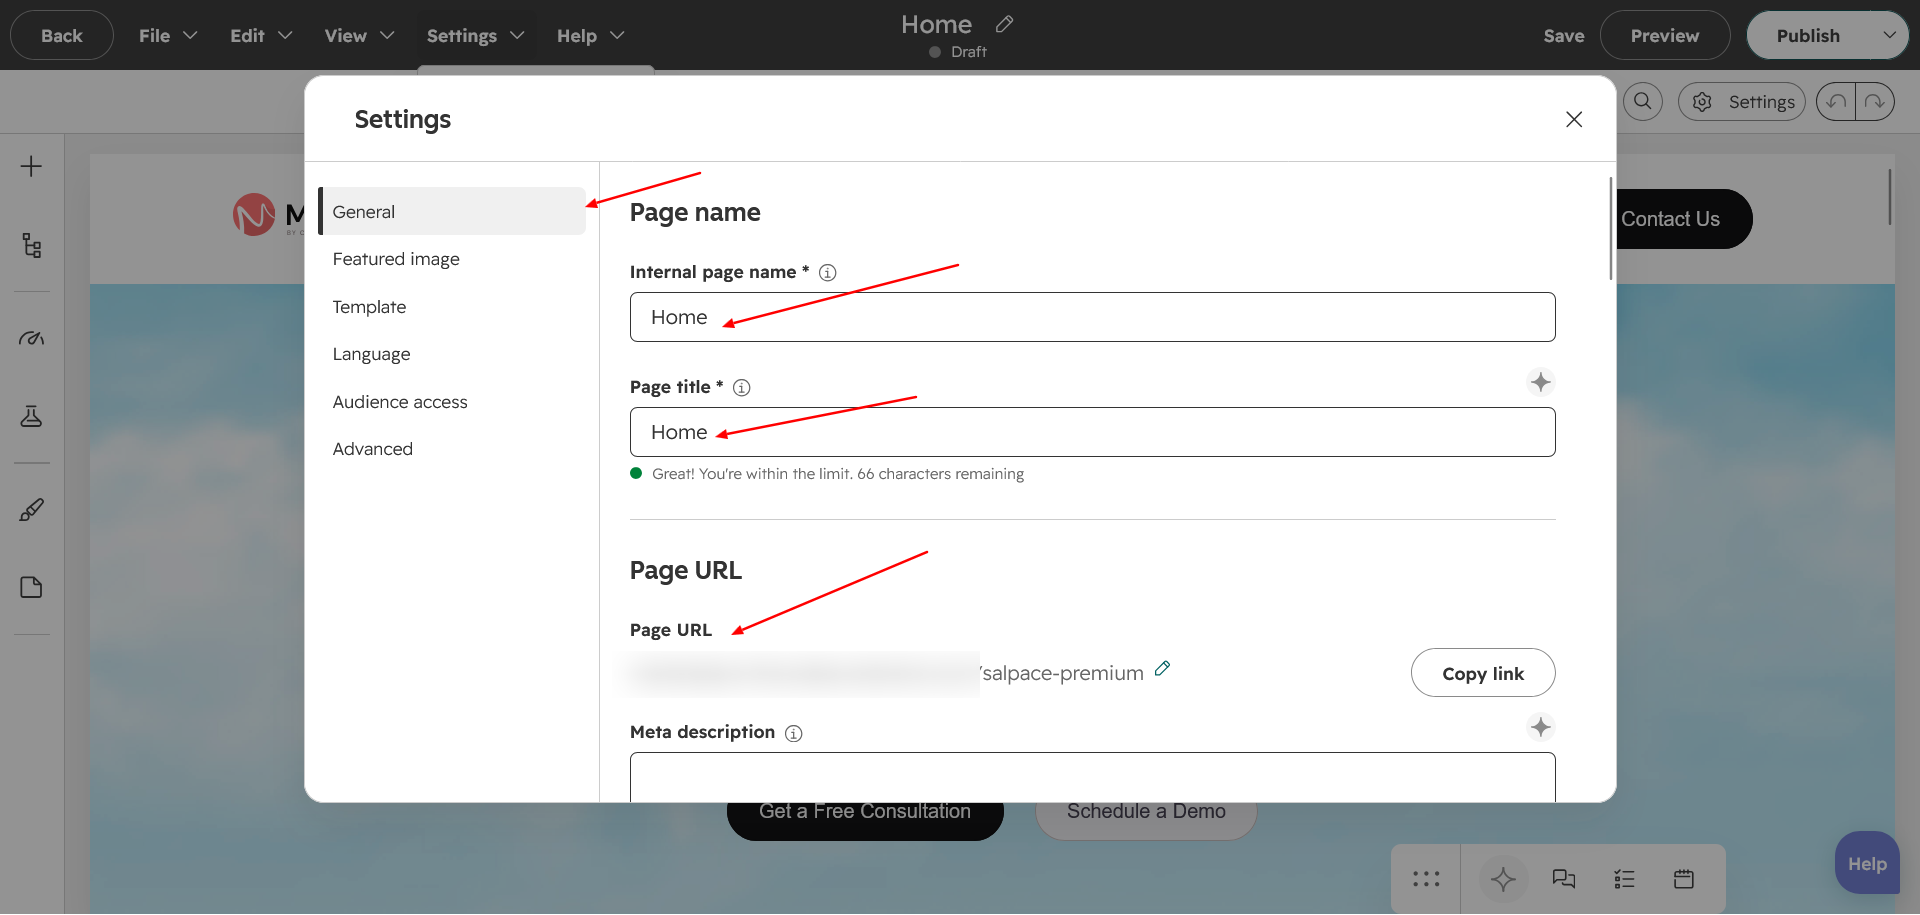
Contact
Have a question about Salpace Premium? Whether you need help customizing a section, fixing an issue or getting the most out of the theme's features, our support team is here to help.
How to Reach Us:
-
Please email us: shubham@thecodeaccelerator.com
-
Book a free consultation: https://thecodeaccelerator.com/book-a-meeting-with-shubham
-
Discover more: https://thecodeaccelerator.com